Smartphone cameras have become an essential part of modern mobile devices. People use them for photography, video calls, online meetings, document scanning, social media, and many other everyday activities. When the camera suddenly stops working, produces blurry images, or displays an error message, the problem can be caused by either software or hardware.
Understanding how to diagnose a mobile phone camera problem can help technicians identify the actual fault before replacing components unnecessarily.
Common Mobile Phone Camera Problems
A smartphone camera can develop different types of problems. Some common symptoms include:
- Camera application not opening
- Black screen when opening the camera
- Blurry or distorted images
- Camera app crashing
- Front or rear camera not working
- Flash not working
- Camera showing an error message
- Camera focusing incorrectly
- Poor image quality
- Camera working intermittently
Each symptom can have a different cause, so proper diagnosis is important.
1. Check the Camera Application
The first step is to determine whether the problem is related to the camera application.
Restart the phone and open the camera again. If the application continues to crash or freeze, check whether other applications that use the camera have the same problem.
If the camera works in another application but not in the default camera app, the issue may be software-related.
2. Restart the Smartphone
A simple restart can sometimes resolve temporary software problems.
Background processes, memory issues, or temporary system errors may affect camera operation. Restarting the device allows the operating system and camera services to load again.
Although this is a basic step, it should be performed before moving to more advanced hardware diagnosis.
3. Check Camera Permissions
Modern smartphones use application permissions to control access to hardware such as cameras and microphones.
If the camera application does not have the required permission, it may not function correctly.
Check the device’s application settings and confirm that camera access is enabled.
4. Inspect the Camera Lens
Physical damage is another possible cause of camera problems.
Inspect the camera area for:
- Cracked camera glass
- Scratches
- Dust
- Moisture
- Dirt
- Signs of impact
A damaged or dirty camera lens can affect image quality even when the camera module itself is working properly.
Cleaning the external camera glass with an appropriate method can help determine whether the issue is simply related to the lens.
5. Test Front and Rear Cameras
Many smartphones have multiple camera modules.
Test each available camera separately.
For example, if the rear camera works but the front camera does not, the problem may be isolated to the front camera module, its connector, or its associated circuit.
Similarly, if all camera functions fail simultaneously, the problem could involve software, power supply, communication lines, or the motherboard.
6. Check for Software Problems
Software updates, corrupted applications, or operating-system errors can sometimes affect camera functionality.
A technician can check:
- System updates
- Camera application behavior
- Application cache
- Recent software changes
- Error messages
- Device diagnostic information
If the problem appeared immediately after a software update or application installation, software troubleshooting should be considered before replacing hardware.
7. Inspect the Camera Connector
If software checks do not solve the issue, hardware diagnosis may be necessary.
A technician can inspect the camera connector and flex cable for:
- Loose connections
- Physical damage
- Corrosion
- Broken contacts
- Contamination
- Signs of previous repair
A poorly connected camera module can produce intermittent faults or complete camera failure.
8. Check for Water or Liquid Damage
Liquid exposure can affect camera modules and motherboard circuits.
Even when the outside of a smartphone appears dry, moisture may remain inside the device.
Possible signs include:
- Camera failure after water exposure
- Fogging around the camera
- Corrosion near connectors
- Intermittent camera operation
- Multiple hardware problems
Water-damaged devices should be inspected professionally because continued operation can potentially cause additional component damage.
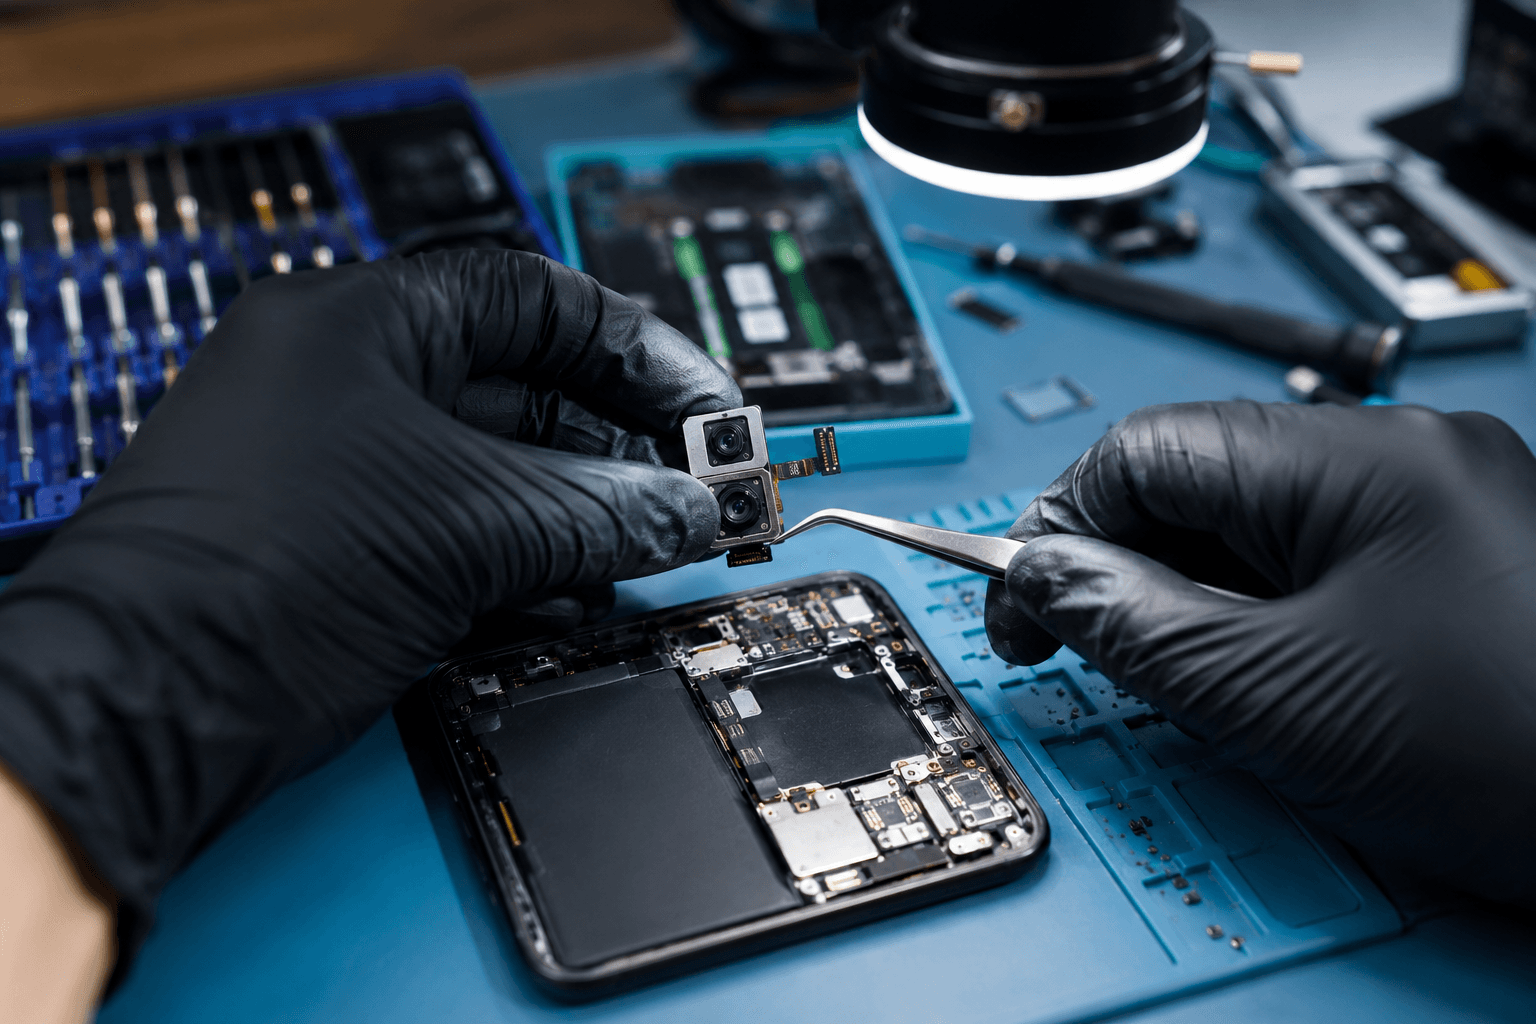
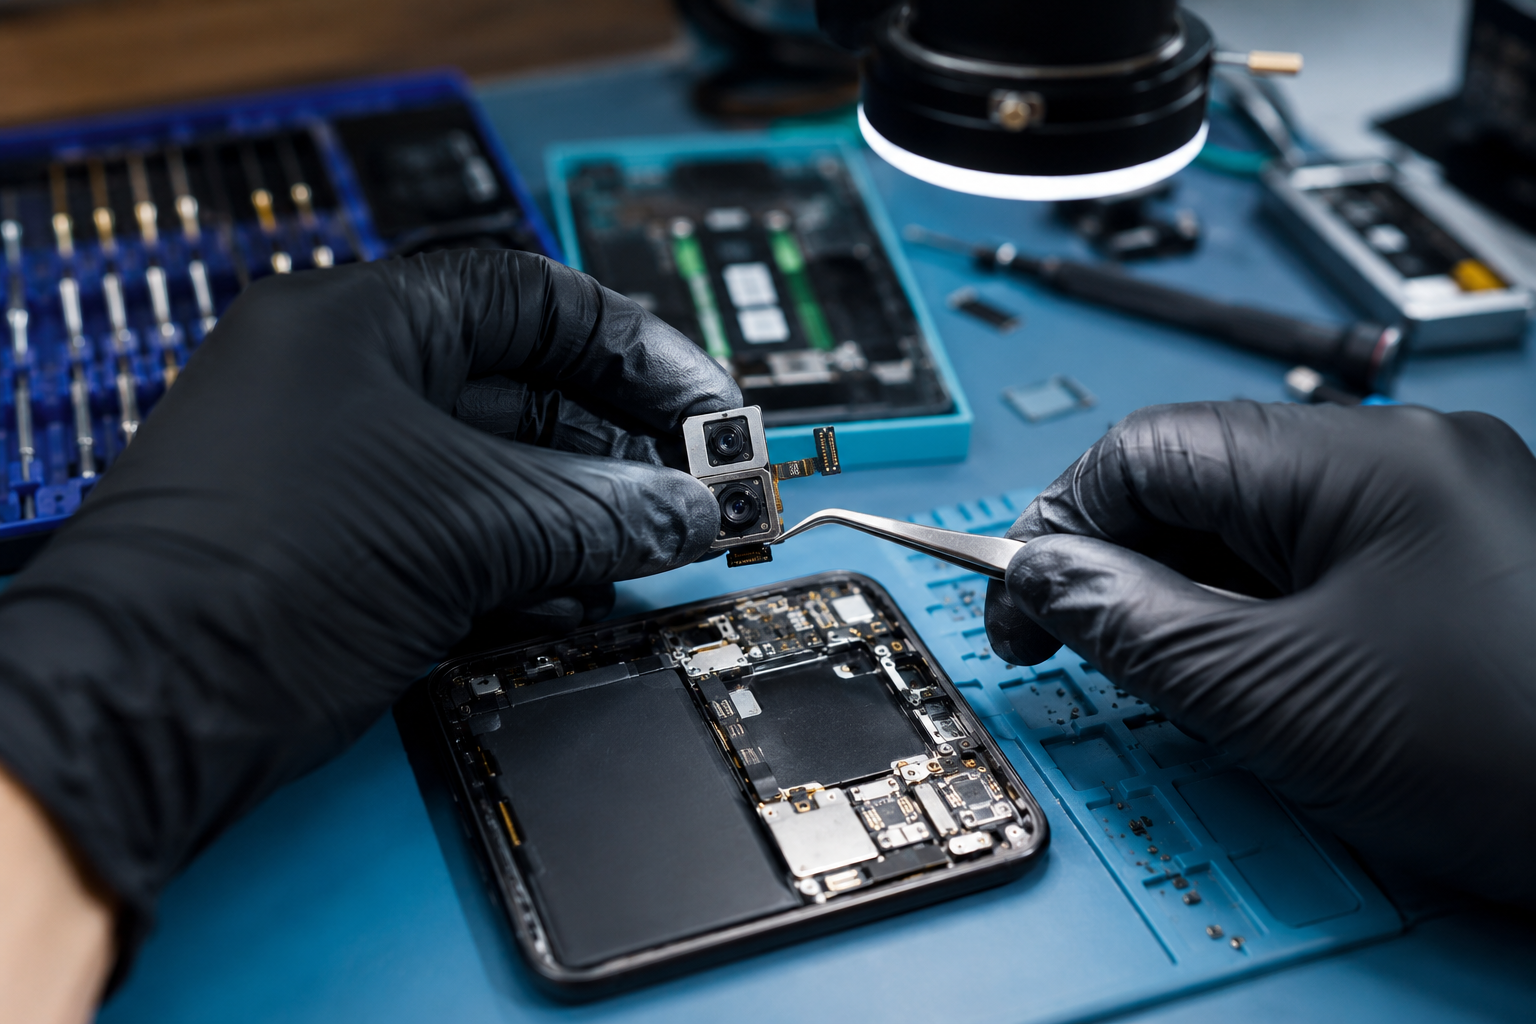
9. Diagnose the Camera Module
If the connector and software are functioning correctly, the camera module itself may be faulty.
Technicians can use a known-good compatible camera module for testing.
If the replacement module works correctly, the original camera module may need replacement.
However, replacing parts without proper testing can increase repair costs. Diagnosis should come before replacement.
10. Check the Motherboard
Some camera problems originate from the motherboard rather than the camera module.
Smartphones contain small electronic components and circuits responsible for communication between the camera and the main processor.
If a known-good camera module does not work, technicians may need to investigate:
- Power supply lines
- Communication lines
- Connectors
- Filters
- IC-related faults
- PCB damage
- Corrosion
These repairs require specialized tools and technical knowledge.
Tools Used for Camera Fault Diagnosis
Professional mobile repair technicians may use different tools depending on the fault.
Common equipment can include:
- Digital multimeter
- DC power supply
- Microscope
- Soldering station
- Hot air rework station
- Board-view or schematic resources
- Diagnostic software
- Known-good replacement components
A microscope can be particularly useful when inspecting small motherboard components, connectors, and solder joints.
Why Proper Diagnosis Matters
Replacing a camera module is not always the correct solution.
For example, a technician may replace the camera but discover that the new component also does not work. This can indicate that the actual problem exists on the motherboard or power/communication circuit.
A systematic diagnostic process helps technicians:
- Identify the symptoms.
- Separate software and hardware possibilities.
- Test the easiest causes first.
- Inspect relevant components.
- Use appropriate testing equipment.
- Confirm the fault before replacing parts.
This approach can reduce unnecessary component replacement and improve repair accuracy.
When Professional Repair Is Required
Basic troubleshooting such as restarting the device, checking permissions, and cleaning the external camera glass can be performed by users.
However, motherboard-level diagnosis should be handled by a trained technician.
Opening a smartphone without the appropriate tools or knowledge can damage delicate components, cables, connectors, or the display.
Professional repair becomes especially important when the phone has:
- Water damage
- Motherboard damage
- Broken connectors
- Camera circuit faults
- Intermittent hardware problems
- Previous unsuccessful repairs
Learn Professional Mobile Repairing Skills
Camera troubleshooting is only one part of smartphone repair. Professional technicians need to understand electronics, components, circuit diagnosis, soldering, software troubleshooting, and motherboard repair.
Britco & Bridco provides hands-on mobile and laptop repair training along with advanced chip-level repair facilities. The institute states that it has more than 27 years of experience and has trained students globally.
Its training areas include mobile repairing, iPhone specialization, eMMC repair, laptop repairing, and advanced repair work.
Conclusion
A mobile phone camera problem can originate from something as simple as an application issue or dirty lens, or it can involve a damaged camera module, connector, or motherboard circuit.
The correct approach is to diagnose the problem systematically instead of immediately replacing components.
For beginners and professional technicians, learning structured troubleshooting methods is an important part of developing mobile repair skills. With practical training and the right diagnostic equipment, technicians can handle a wider range of smartphone hardware and software problems.